Introduction
There is an essential maintenance job that could make your house seem more glorious, cut back on electricity expenses, and lengthen the lifetime of doors weather-stripping your garage door properly. This complete guide will take you through the measures to install weather stripping around the garage door, thus providing a tight seal against wind and rain
Understanding Weather Stripping
Weatherstripping involves sealing gaps in outside walls so that air does not pass through them. Although most subdivisions are well-insulated these days, it is still important to weather-tight doors and windows against the elements over a garage.

Types of Garage Door Weather Stripping
Bottom Seal
A gasket material like a strip that fits beneath the garage door to close it. When the door is closed, this prevents wind and moisture from accumulating inside as well.
Threshold Seal
Like but not a part of the bottom seal placed on the garage when the door is closed; this additional layer provides extra
protection against water infiltrates.
Weather Seal Trim
Installed around the top and sides of the door frame to fill gaps, typically made of PVC or rubber
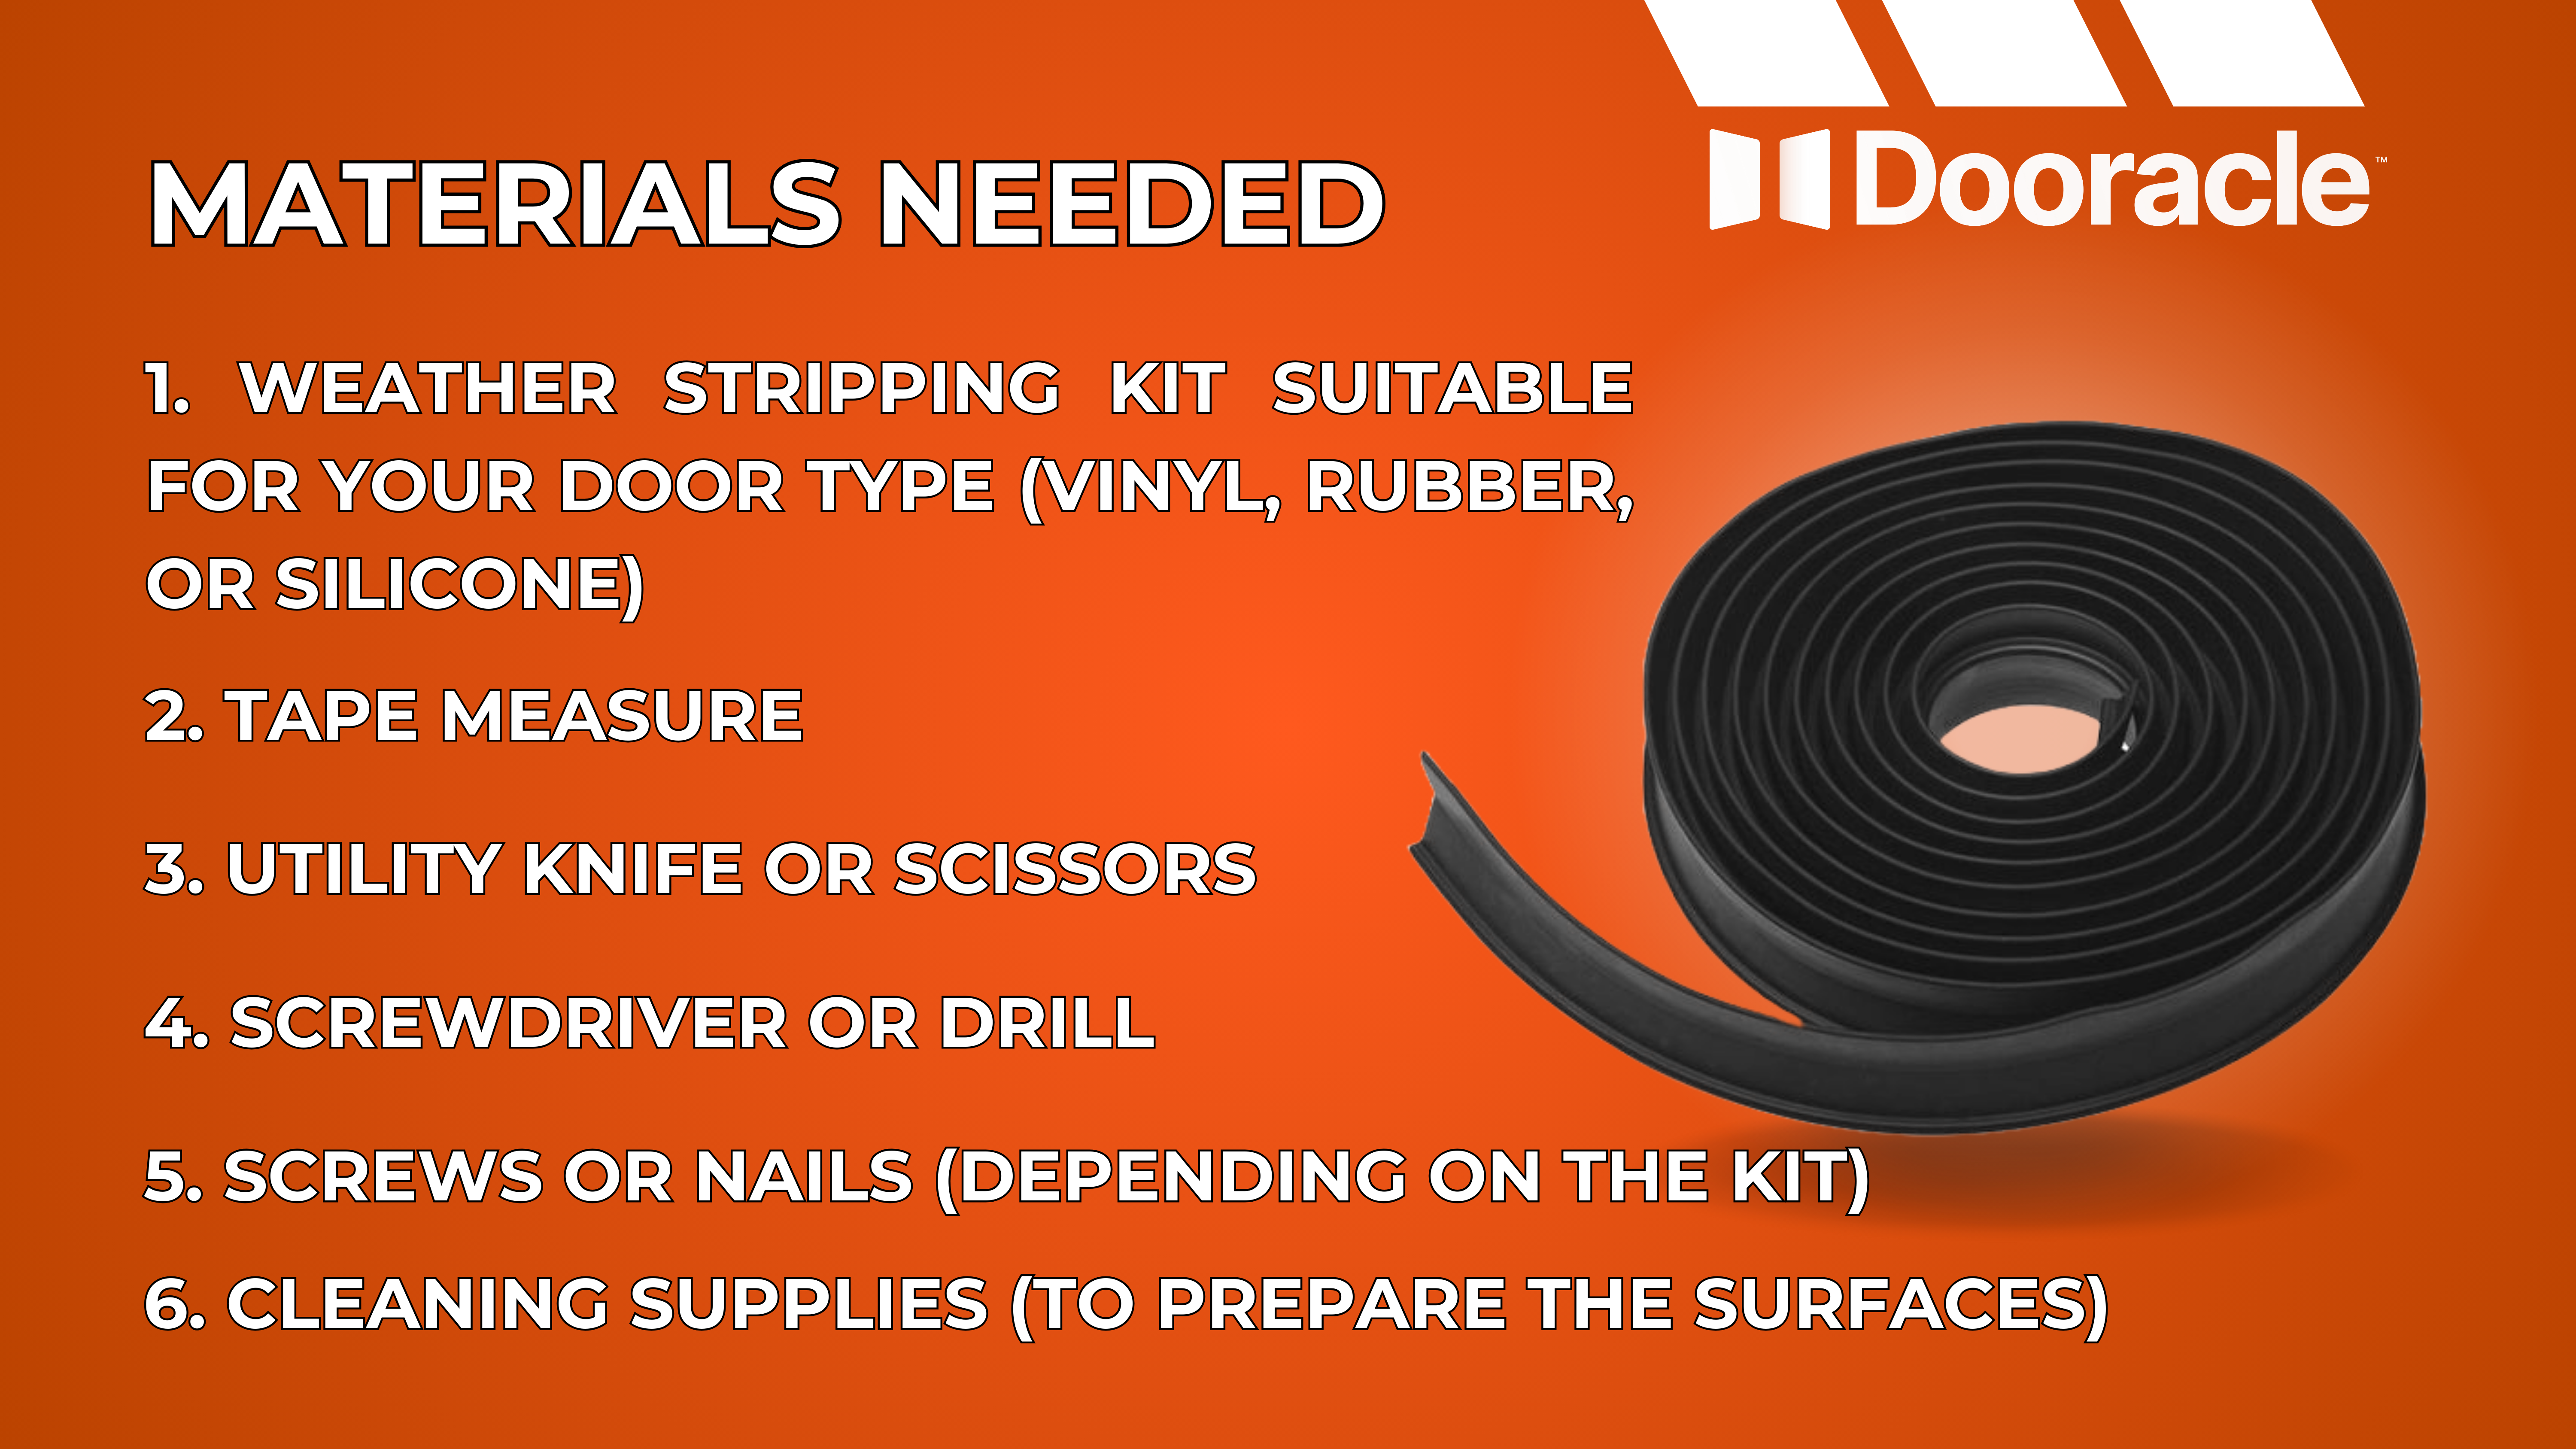
Materials Needed
-
Weather stripping kit suitable for your door type (vinyl, rubber, or silicone)
-
Tape measure.
-
Utility knife or scissors
-
Screwdriver or drill
-
Screws or nails (depending on the kit)
-
Cleaning supplies (to prepare the surfaces)
Step-by-Step Installation Process
1. Choose the Right Weather Stripping
Number one, determining materials and types of weather stripping for your garage door depends on the normal weather in your area as well as the special requirements of your garage.
2. Measure and Cut
• The Bottom Seal – Close the door and measure the width of our door. Cut the seal to length and shape to fit in snugly. Every time I see a sealing, all I can think about is leap years and small minds.
• The Threshold Seal – Measure the width of our garage door opening and cut the threshold to match it.
• Weather Seal Trim – Measure the sides and top of the door frame, then cut trim to these measurements.
3. Clean and Prep the Area
Ensure that the door and frame surfaces to be sealed are clean and dry. Remove any old sealing and its adhesive residue. This can help the new sealing stick better and give a good seal.
4. Install the Bottom Seal
Slide the new seal into the door’s bottom rail. If your door doesn’t have a rail at the bottom, then you will need to use adhesive or screws to retain it.
5. Install the Threshold Seal
Apply adhesive to the underside of the threshold seals, then close the door and press them down hard on the floor of the garage.
6. Install the Weather Seal Trim
Start at one top corner of the door frame and nail or screw trim into place, working your way around the bottom of the door. Make sure to compress the seal slightly against the door for a tight fit.
Tips for Effective Installation
-
Check for gaps after installation and adjust as necessary.
-
Regularly inspect the weather stripping for wear and tear and replace it when it becomes ineffective.
-
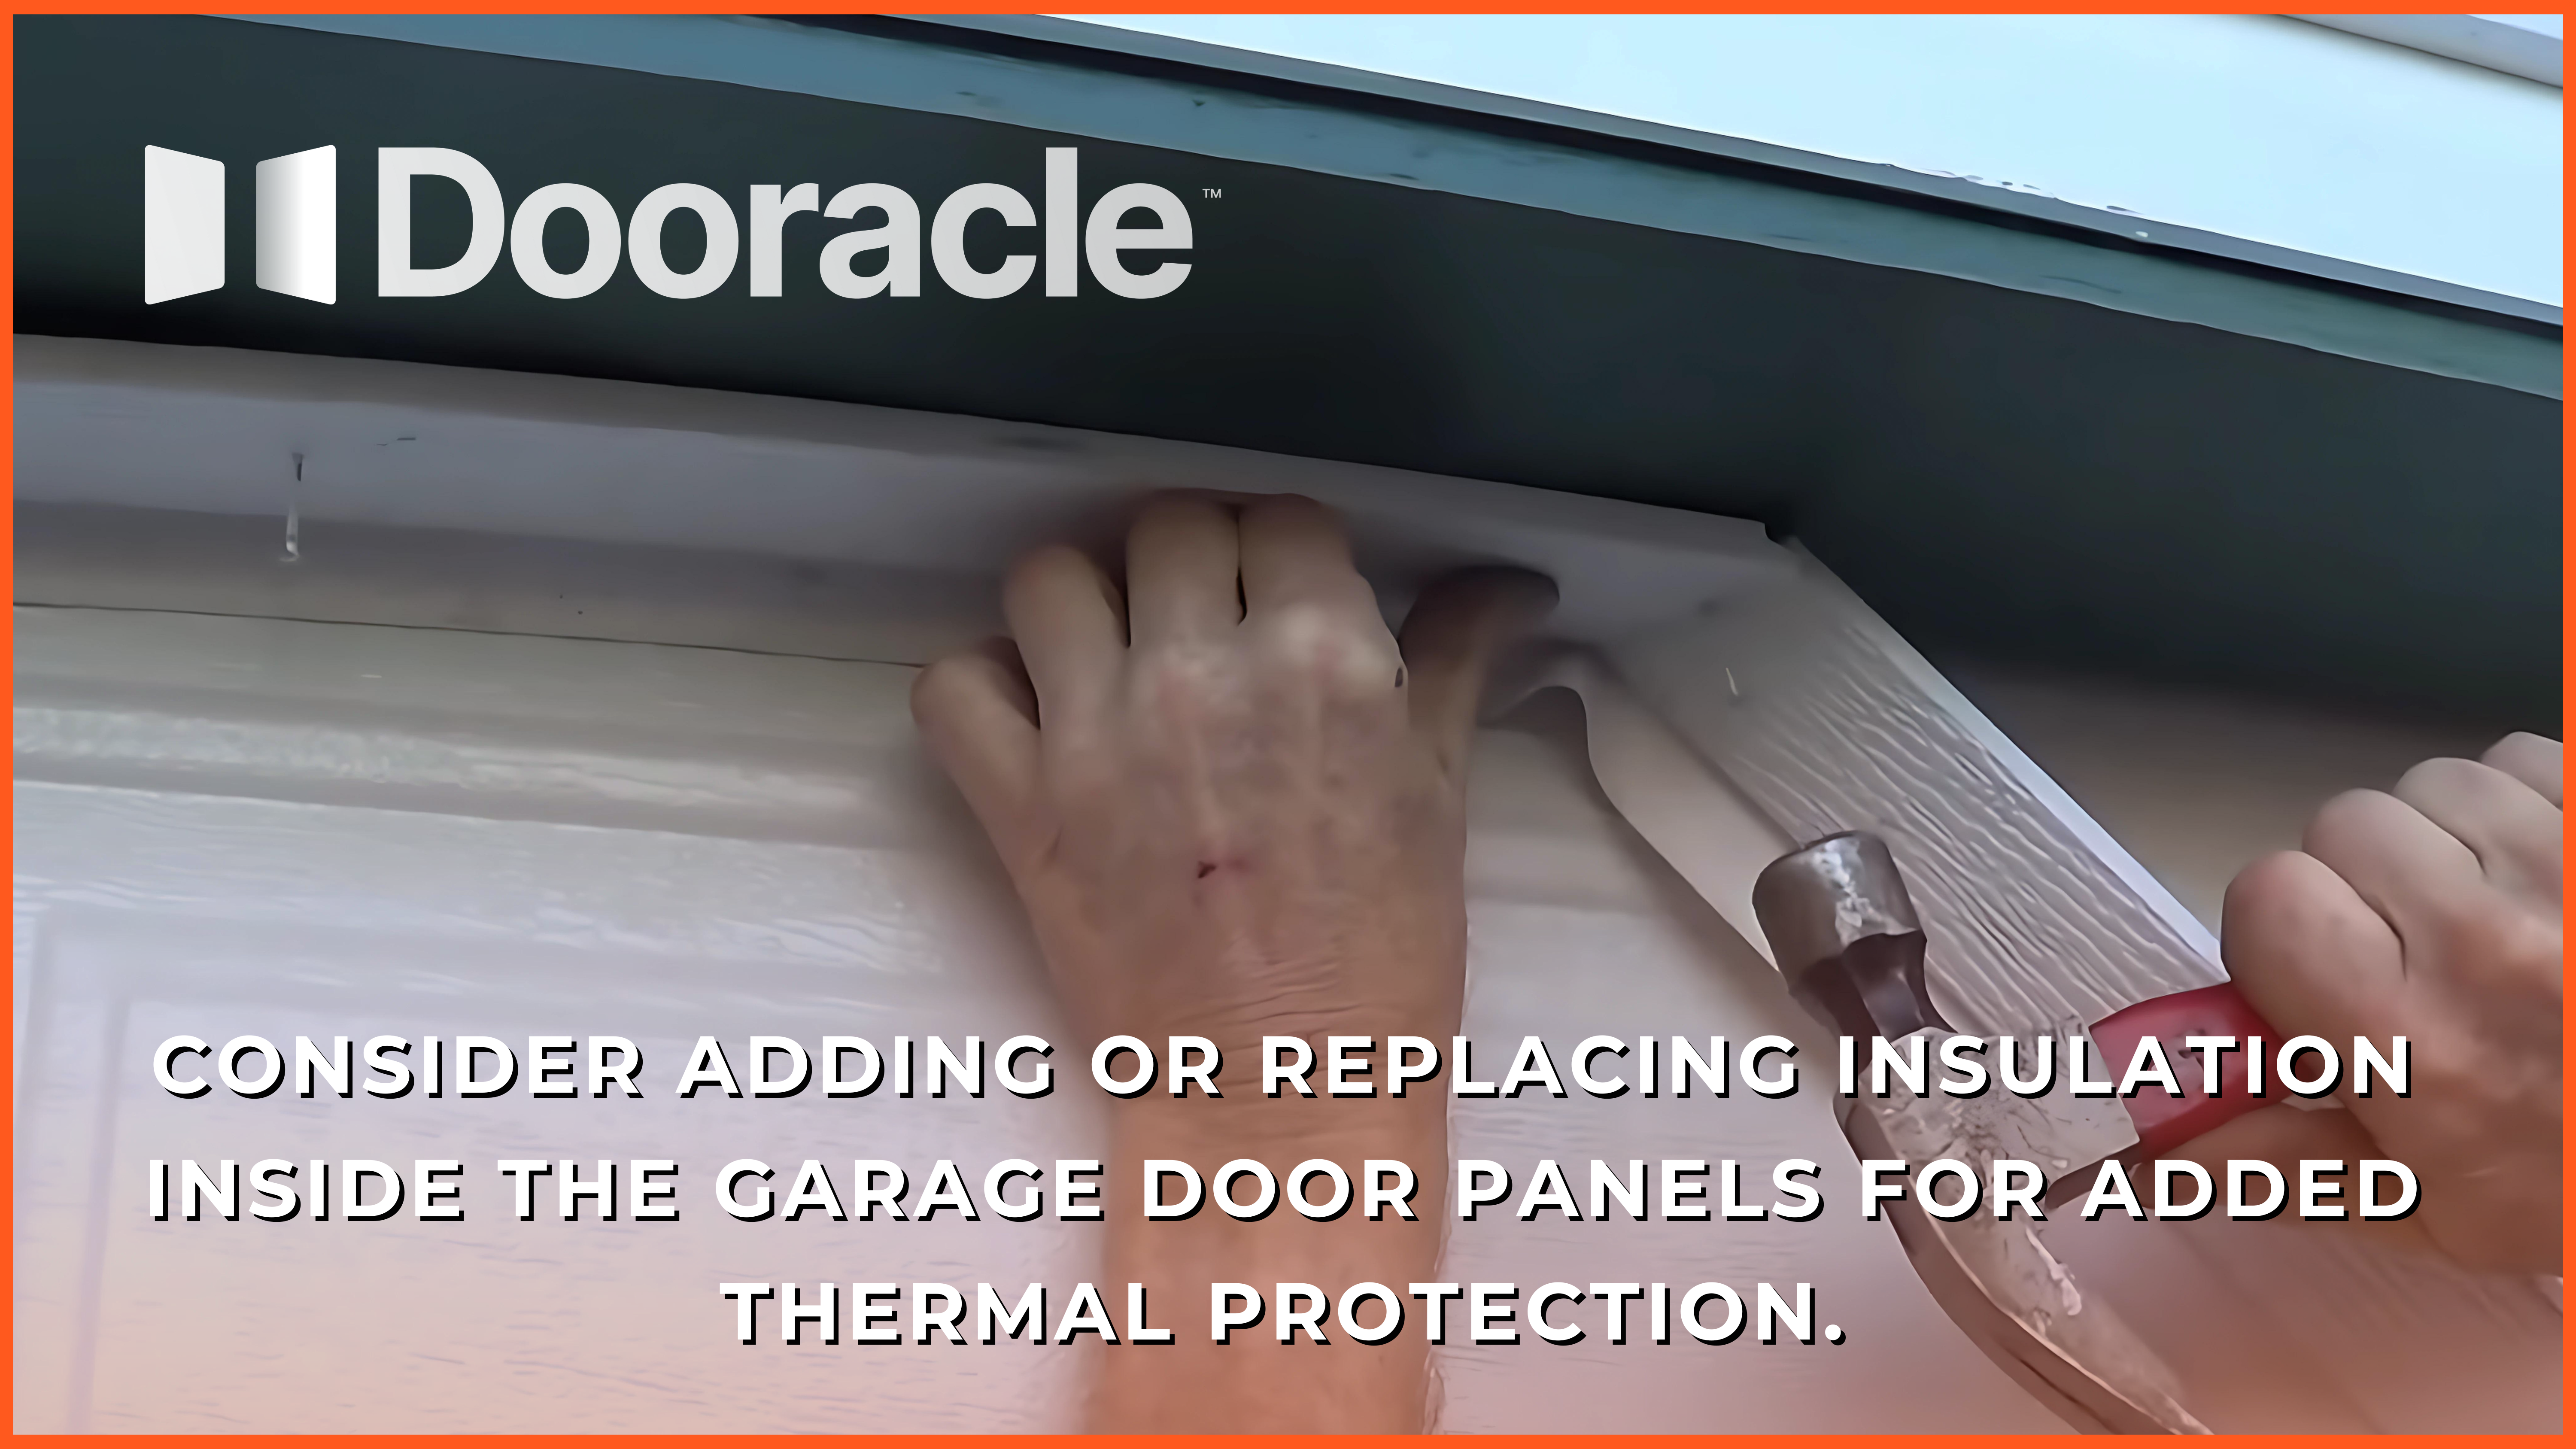
Consider adding or replacing insulation inside the garage door panels for added thermal protection.
Conclusion
Mounting weatherstrip around your garage door is easy and affordable, adding up to a big difference in energy efficiency and protection against both elements and bugs. Whether you follow these steps or just use whatever materials are available for the job at hand, so long as moisture stays out of your garage (and doesn’t turn into mildew), so do warmth energy losses. If insulated correctly, keeping it dry and cozy is easy.
This article provides a detailed and practical guide to weatherstripping a door, including which materials are best for what type of wear. embodied by the information on this page homeowners can.