Expert Tips for Adjusting Your Garage Door: Smooth Operation and Safety
To ensure the door works properly and lasts longer, it is essential to have your garage door correctly tuned. At Affordable Garage Door Repair, we understand that a garage door that has been well maintained operates not only more sensibly, but also guards your safety and security. The following guide walks you through it step by step–adjusting the overhead door alignment, spring tension, and opener settings.
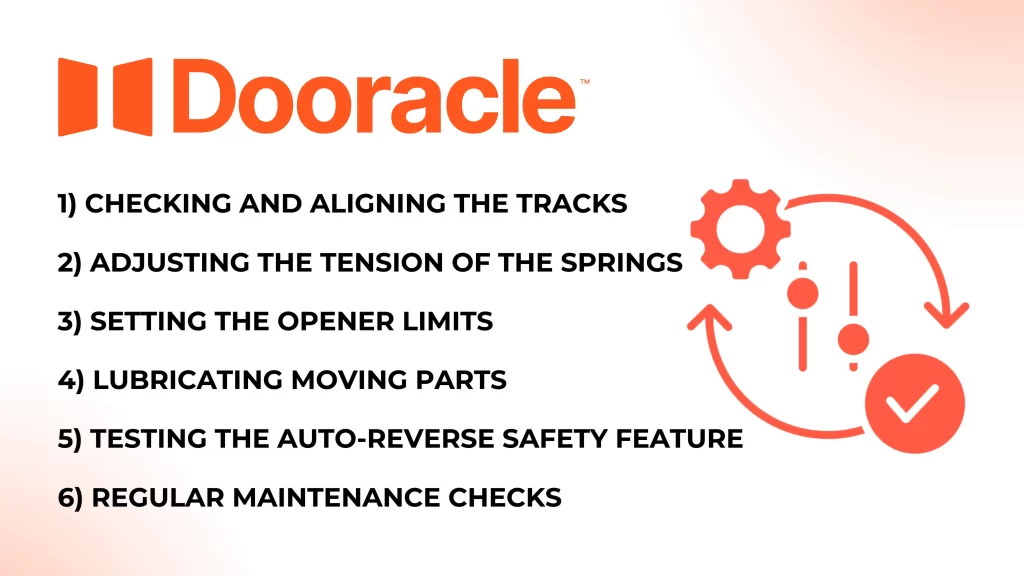
Checking and Aligning the Tracks
Misaligned tracks can make your garage door run unevenly or even jam. Here is how to check and correct for correct alignment:
Check Tracks
Search for anything that is not right. The gap between the rail and rollers bends, or obstacles.
Loosen Mounting Brackets
Using a socket or wrench, slightly loosen the screws holding the tracks to your garage door frame.
Adjust for Alignment
You will need to determine the orientation of these settings however if your tracks are too far off. The higher the precision, the better you can use a level tool. Adjust until the track lines up and is level even if it takes two or three tries. When they are
flush at last–line up with one another.
Adjusting the Tension of the Springs
Your garage door springs are there not only for the weight of the door but also to balance it. Incorrect tension will cause a door to open too quickly or not at all.
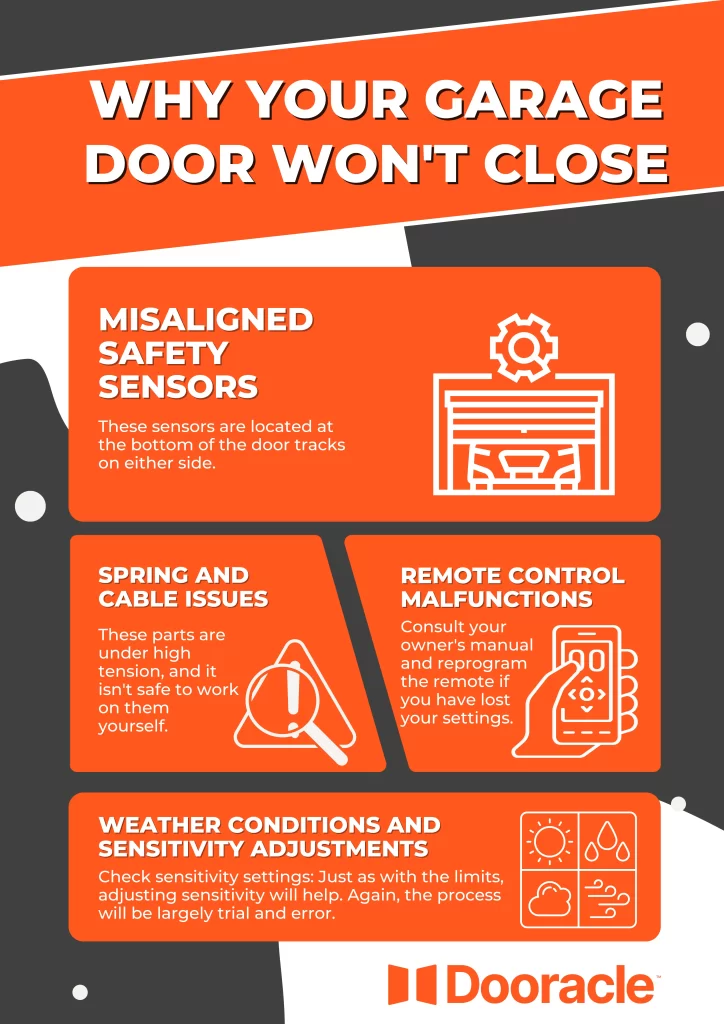
Safety First
Trying to adjust garage door springs by yourself can be dangerous. If you aren’t experienced in dealing with high-tension springs, it’s better for a professional to be called out.
Testing the Balance
Disconnect the opener via the release handle and manually lift the door halfway up. It should stay there; if not, adjustments are needed.
Adjusting the Torsion Springs
If the door is too heavy, increase its tension by turning the spring adjustment cone clockwise. If it’s too light, decrease the tension by turning it counterclockwise.
Setting the Opener Limits
The limit switch setting determines how far the garage door opens or closes; improper settings can result in the door closing too hard or not quite enough.
Here you will find the Limit Adjustment Screws
These are usually located on the side of the garage door opener motor.
Adjust the Open Limit
If your door doesn’t open well, turn the ‘Up’ limit adjustment screw clockwise. If it goes too far, turn it counterclockwise.
Adjust the Close Limit
If your door doesn’t completely close, turn the ‘Down’ limit adjustment screw clockwise. If it
Lubricating Moving Parts
Regular lubrication ensures smooth operation of your garage door and protects its components from damage.
• Use the Correct Lubricant: Use a silicone-based lubricant or a product specially made for garage doors.
• Lubricate the Tracks, Rollers, and Hinges: Rollers and hinges should be lubricated. Tracks are not to receive lubrication as they tend to hold onto dirt and debris; make sure they are clean with no obstacles.
Testing the Auto-Reverse Safety Feature
The auto-reverse feature is a critical safety function that keeps the door from closing on objects – including people and pets.
• Perform a Safety Test: Place a block of wood on the ground where the door would hit. Close the door using the opener; whether it will then rebound when striking an obstruction. If it doesn’t, the force limit needs to be loosened.
Regular Maintenance Checks
To keep your garage door in top condition, regular maintenance plays a key role:
• Visual Inspections: Look for signs that hardware is loose or worn if you can find them.
• Schedule Professional Maintenance: An annual or bi-annual maintenance schedule performed by professionals can ensure every aspect of your garage door is in fine working order.
Conclusion