Garage Door Glass Replacement: A
Comprehensive Guide
Garage door glass replacement is a common maintenance task that homeowners may need to undertake due to damage, wear and tear, or aesthetic upgrades. Whether your garage door has a single pane or multiple glass panels, replacing broken or damaged glass requires careful planning, proper tools, and attention to safety. In this comprehensive guide, we’ll walk you through the steps involved in garage door glass replacement, from assessing the damage to completing the installation, ensuring a smooth and successful repair process.
Assessing the Damage
Inspect the Damage
Thoroughly examine the glass panels on your garage door to identify any cracks, chips, or shattered sections. Determine the extent of the damage and whether the glass needs partial or complete replacement.
Measurements
Measure the dimensions of the damaged glass panel(s), including width, height, and thickness, to ensure accurate replacement. Take precise measurements to order the correct size replacement glass.
Glass Type
Identify the type of glass used in your garage door (e.g., tempered, laminated, insulated) to ensure compatibility and safety compliance with local building codes and regulations.

Replacement Glass
Purchase replacement glass panels in the appropriate size, thickness, and type to match your existing garage door. Choose tempered or laminated glass for enhanced durability and safety.

Safety Gear
Wear safety gloves, protective eyewear, and appropriate clothing to prevent injuries from broken glass shards during the replacement process.

Tools
Gather tools such as a putty knife, glazing compound, glass cutter (if needed), suction cups or glass handlers, caulking gun, and screwdriver for removing and installing glass panels.
Removal of Damaged Glass

Clear Work Area
Ensure the garage door is fully open and secure to provide ample working space. Lay down protective coverings or drop cloths to catch any glass fragments or debris.

Remove Old Glass
Carefully remove the broken or damaged glass panel(s) from the garage door frame using a putty knife or screwdriver to pry away any retaining clips or moldings.

Dispose of Glass Safely
Dispose of the broken glass shards properly in accordance with local regulations. Use caution to avoid injuries when handling and disposing of glass fragments.
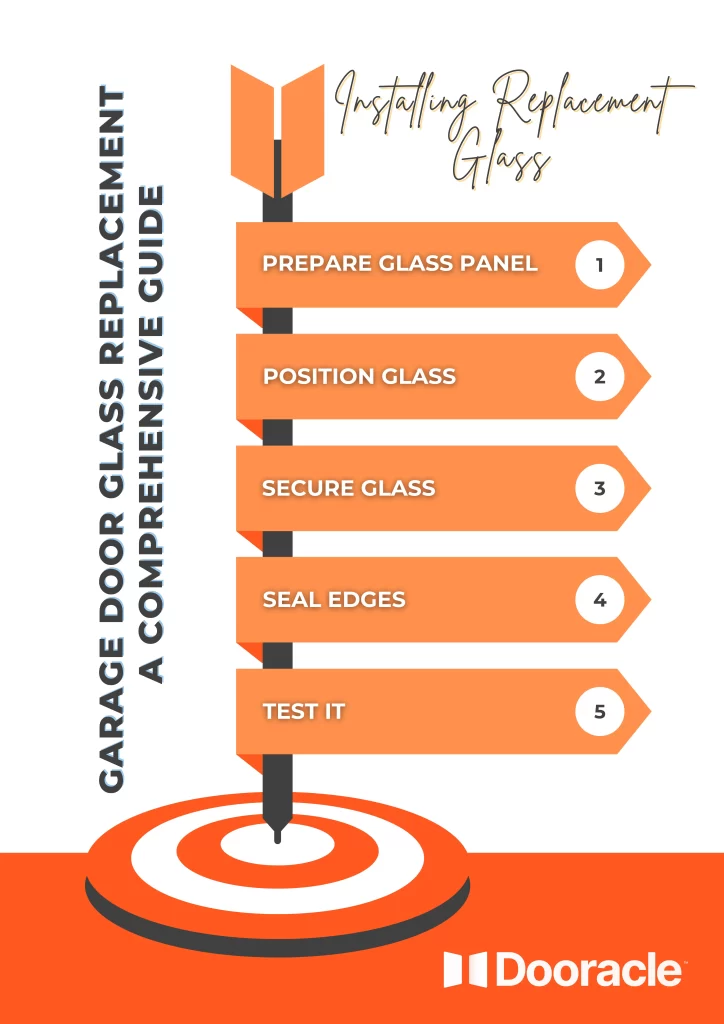
Installing Replacement Glass
Prepare Glass Panel
Clean the edges of the replacement glass panel and apply a thin layer of glazing compound or silicone sealant along the perimeter to create a watertight seal.
Position Glass
Carefully position the replacement glass panel into the frame, ensuring a snug fit and alignment with any retaining clips or moldings.
Secure Glass
Use suction cups or glass handlers to hold the replacement glass in place while securing it with retaining clips, moldings, or fasteners. Tighten screws or clips evenly to prevent uneven pressure on the glass.
Seal Edges
Apply additional glazing compound or silicone sealant around the edges of the glass panel to seal gaps and prevent moisture intrusion.
Final Steps
Cleanup
Remove any protective coverings or drop cloths and clean the work area thoroughly to remove any glass fragments, dust, or debris.
Test Operation
Operate the garage door to ensure smooth and proper functioning of the replacement glass panels. Check for any signs of misalignment, binding, or friction.
Maintenance
Regularly inspect and maintain the garage door glass panels to prevent damage and prolong their lifespan. Clean the glass surfaces periodically with mild soap and water to remove dirt, grime, and residue.
Professional Assistance
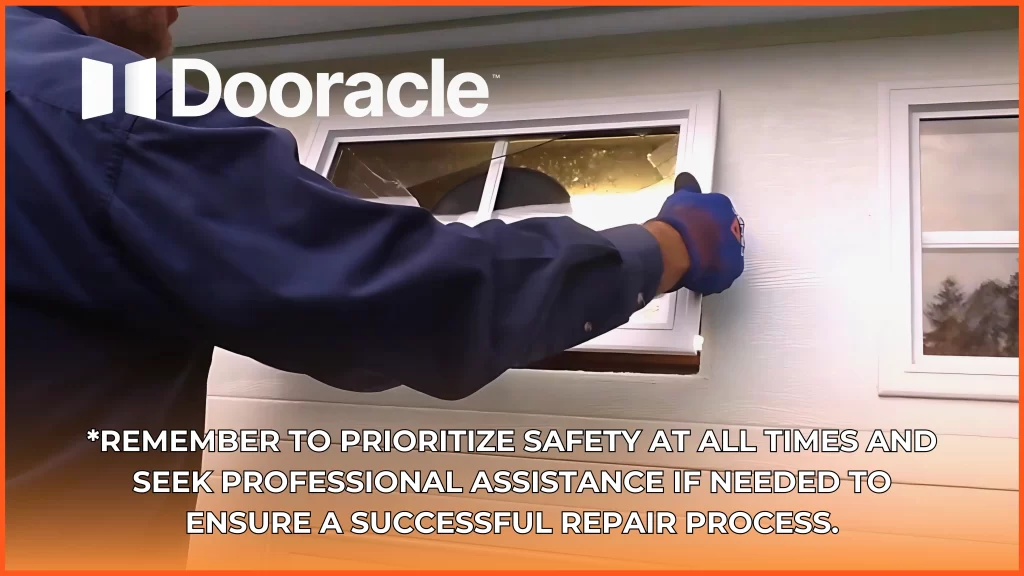
If you’re not comfortable or confident in performing garage door glass replacement yourself, consider hiring a professional garage door technician or glass specialist. They have the expertise, tools, and experience to safely and efficiently replace damaged glass panels, ensuring optimal performance and safety. By following these steps and precautions, you can successfully replace damaged or broken glass panels on your garage door, restoring its functionality, appearance, and safety. Remember to prioritize safety at all times and seek professional assistance if needed to ensure a successful repair process.